Joining the Software
Welcome to the first step in utilizing our software to streamline your work process and enhance collaboration within your team. To get started, you have two convenient options to join our platform: Receiving an Invitation or Self-registration. Below, we provide you with a detailed guide on both methods to ensure a smooth and secure sign-up process, facilitated by Auth0, our trusted identity management partner.
Option 1: Joining via Invitation
1. Receiving an Invitation Email
- An existing member of the platform can send you an invitation to join their team or project.
- You will receive an email with an invitation link. Ensure that the invitation is not marked as spam or junk mail.
2. Accepting the Invitation
- Click on the link provided in the invitation email.
- You will be redirected to the Auth0 registration page, which is our secure authentication service.
3. Completing Your Registration
- On the registration page, fill in the required fields with your personal information.
- Create a strong password that meets the stated security requirements.
- After entering your details, click the ‘Register’ button to complete the process.
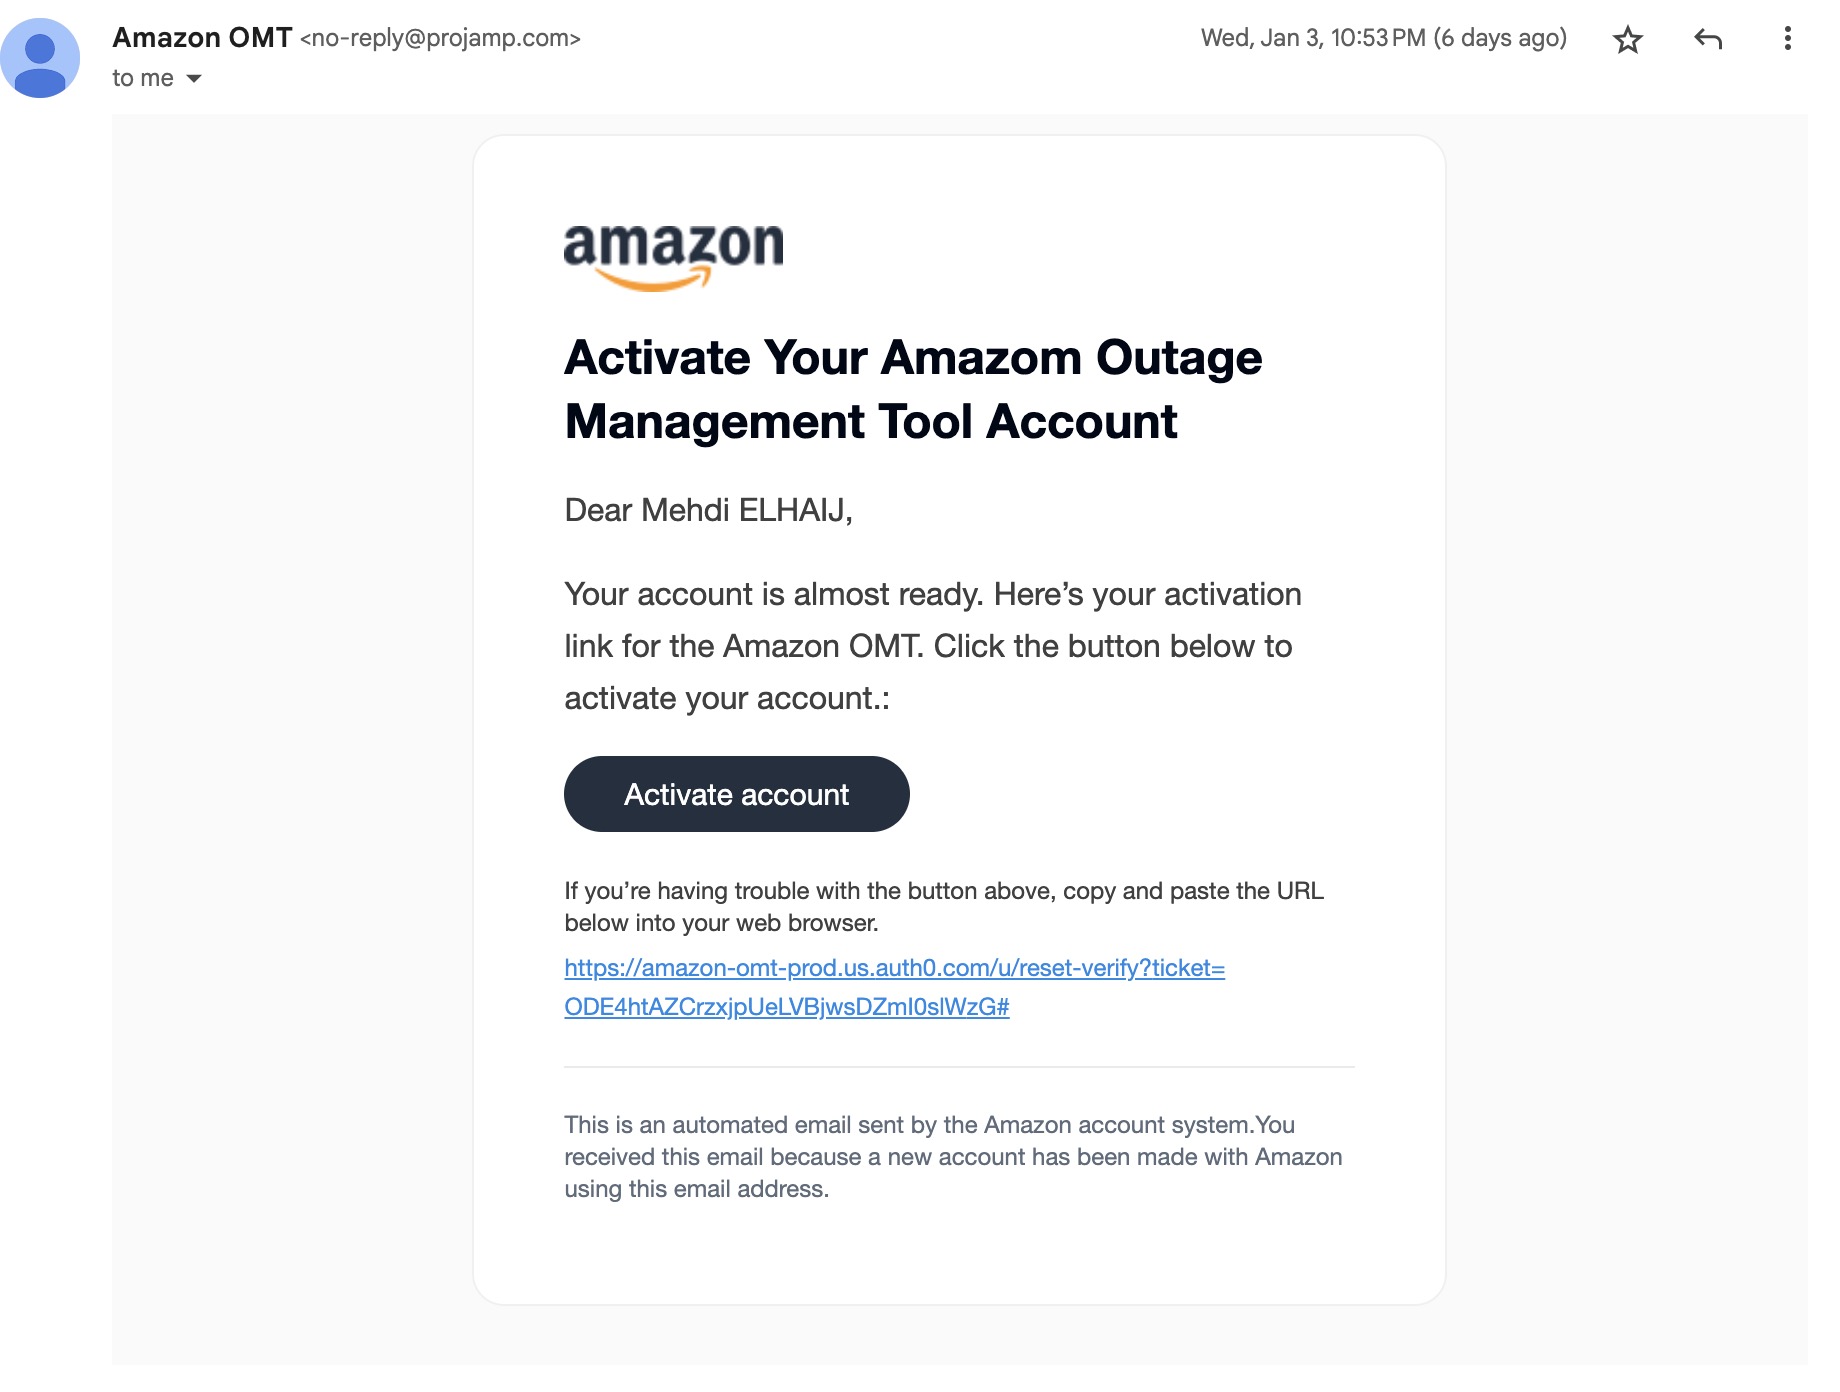
4. Email Verification
- Once registered, you will receive a verification email.
- Click the verification link in the email to activate your account.
5. Logging In
- After your email address is verified, you can log in to the platform using your new credentials.
Option 2: Self-registration
1. Navigating to the Sign-Up Page
- Visit the software's website and locate the ‘Sign Up’ button, usually found at the top right corner or on the home page.
2. Creating an Account
- Click the ‘Sign Up’ button to be directed to our Auth0 sign-up page.
- Provide the necessary details, including your email address, and create a password.
3. Account Verification
- After submitting your registration, you’ll receive an email to verify your account.
- Click on the verification link to confirm your email address.
4. Completing the Registration
- With your email verified, you might be prompted to fill in additional profile information to complete your user profile setup.
- Fill out any additional fields as required to finish creating your account.
5. Logging In
- You can now log in with your registered email and password.
After Joining
Once you've successfully joined the platform, take a moment to familiarize yourself with the user interface and explore the various features available. Should you encounter any issues during the sign-up process or require further assistance, please reach out to our support team for help.
Remember, by joining our software, you're stepping into a streamlined and secure environment designed to facilitate productivity and collaboration. We're glad to have you on board!
Profile Management
Personal Information
In the "Personal Information" section of your account settings, you can manage your personal details associated with your Amazon OMT account. This area is intended for you to view and update your contact information to ensure seamless communication and personalized user experience. Here's how you can navigate and modify your personal information:
Accessing Personal Information:
To access this section, log into your Amazon OMT account. Navigate to the 'Profile' tab at the top of the page.
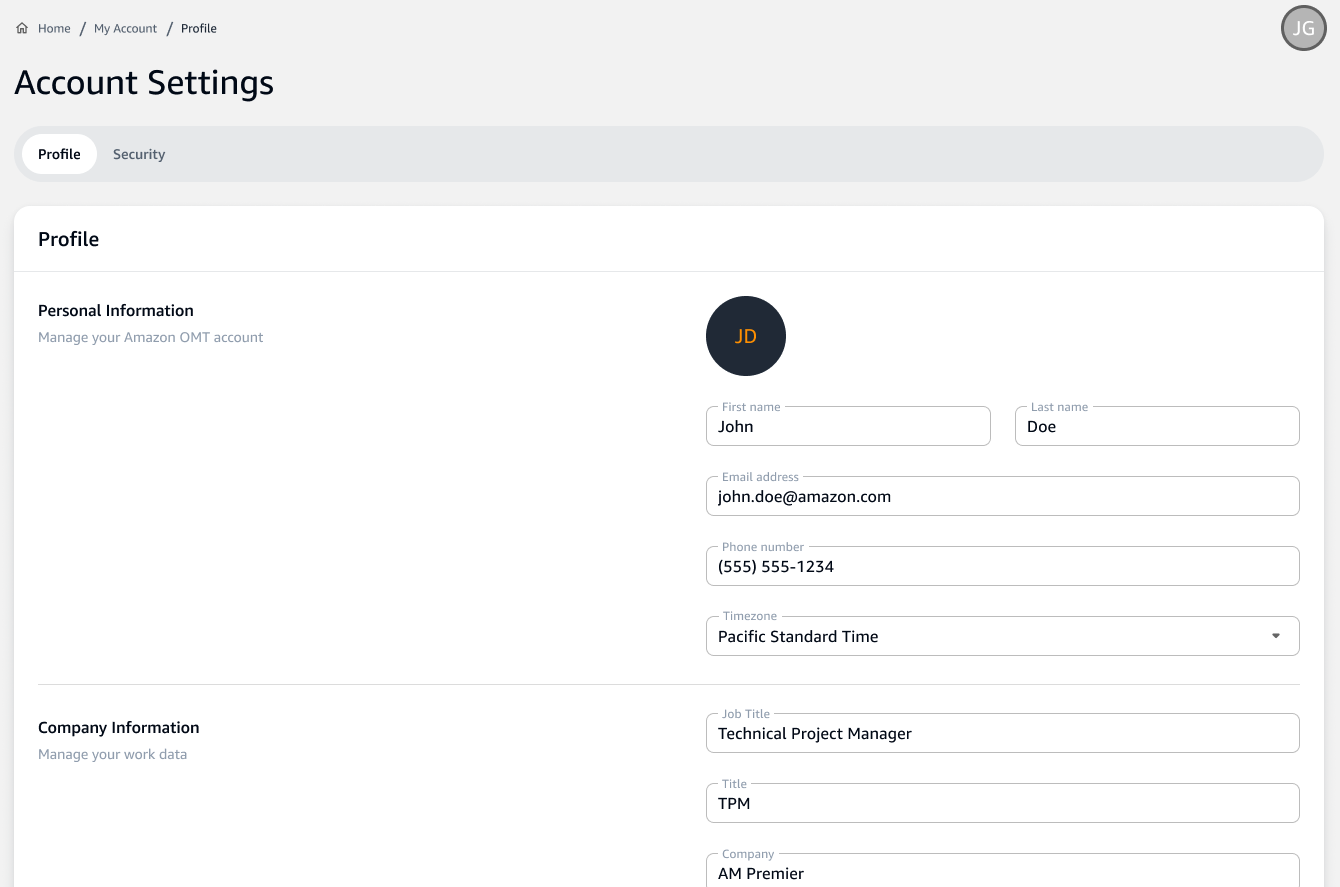
Updating Profile Details:
Your current information will be displayed under the 'Personal Information' heading. To update your details, click on the text fields such as 'First Name', 'Last Name', 'Email', 'Phone Number', and 'Timezone'.
First Name and Last Name:
Enter your first and last name as you'd like them to appear on your account. These details are important for identification and will be used across the Amazon OMT platform.
Email:
Your email address is crucial for account recovery, notifications, and communications from Amazon OMT. Ensure that the email address is current and one that you check regularly.
Phone Number:
Providing a phone number can add a layer of security to your account and is also used for critical communication.
Timezone:
Select your local timezone from the dropdown menu. This setting helps in timing notifications and other time-sensitive features appropriately.
Profile Picture:
Although currently not available ('Upload Image' feature is not possible yet), you will be able to upload a personal image in the future for a more personalized profile.
Saving Changes:
After making the necessary changes, ensure to save them. The option to save may require scrolling to the bottom of the section or may be located at the top-right corner.
Remember to keep your personal information up to date to facilitate accurate and timely communication with the Amazon OMT team and services.
Company Information
The "Company Information" section of the account settings is where you can provide and edit details related to your professional profile. This information is vital as it helps tailor the Amazon OMT platform to your work environment, ensuring a more customized and relevant user experience. Below are instructions on how to navigate this section and what each field represents:
Navigating to Company Information:
Log into your Amazon OMT account. Click on the 'Profile' tab and locate the 'Company Information' heading.
Fields and Descriptions:
Company:
The name of the company you are affiliated with. This information helps in organizing and associating your projects within the platform.
Job Title:
Your official position in the company. Providing your job title helps in identifying your role and responsibilities. Department or Team: The specific department or team you work with. This helps in classifying your work and collaborations within your company's structure.
Role:
Your role within the department or team, which could be different from your job title.
Updating Information:
Click on the corresponding text boxes to input or update your 'Company', 'Job Title', 'Department or Team', and 'Role'. It's important to ensure that this information is accurate and up-to-date to facilitate better service and support from Amazon OMT.
Saving Changes:
Once you have entered or updated your information, click on the 'Save' button to apply the changes. If you decide not to update the information or wish to discard changes, click 'Cancel Changes'.
The information provided in the 'Company Information' section not only helps personalize your experience but also aids in networking within the platform, as others can identify your professional background and expertise.
Always remember to keep these details current to reflect any changes in your professional status.